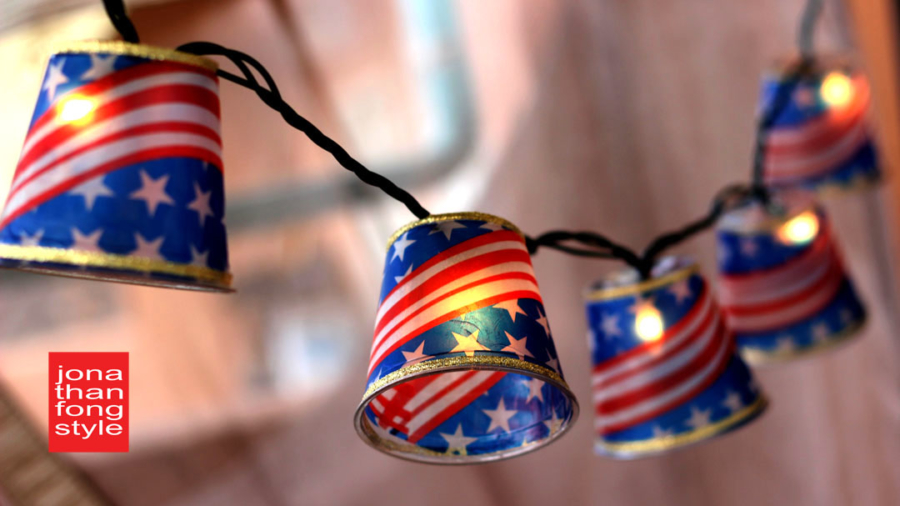
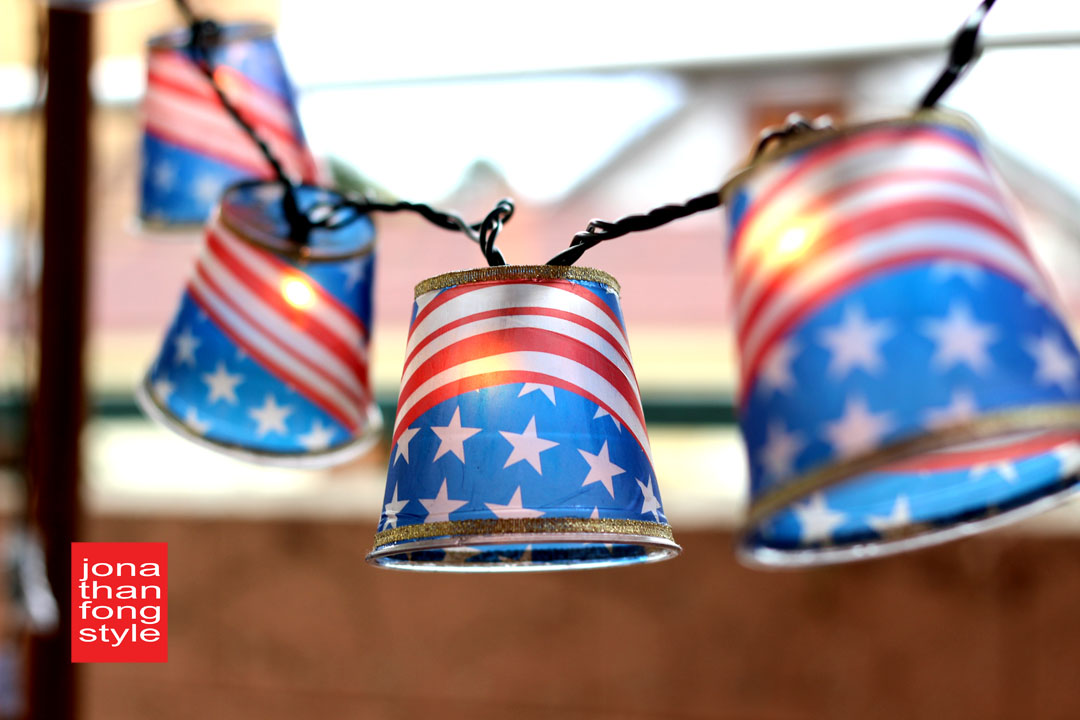
Oh say can you see, all the star spangled projects for the 4th of July? From now until July 4th, Craft Attitude is throwing an online star-spangled party, hosted by Candie Cooper and me. Twice a week, some of our favorite designers in the crafting world will provide patriotic project ideas using Craft Attitude printable film. So join the fun. We expect creative fireworks! So what’s a 4th of July party without lights? I created these red, white and blue string light covers using plastic cups and Craft Attitude film. They were really easy to make too, as I’ve declared independence from difficult crafts.
WHAT YOU’LL NEED:
Craft Attitude film (all Craft Attitude films will work, e.g., Shoe Attitude, Wood Attitude, Jewelry Attitude, etc.)
Plastic cups, clear
Gold ribbon
String lights
Glue stick, like Elmer’s Craft Bond
Glue
Craft knife, like Westcott Hobby Knife
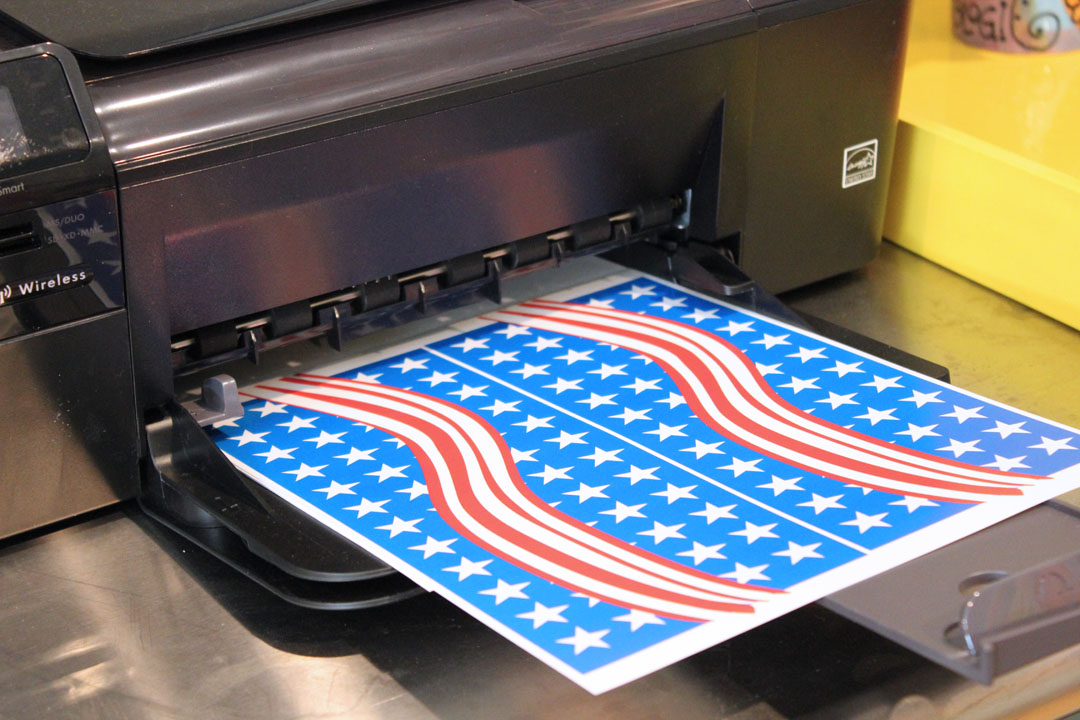
STEP 1: Print a stars and stripes pattern on the Craft Attitude film. I created my own with Adobe Illustrator, but you can use stock illustrations, or even use an image of the American flag.
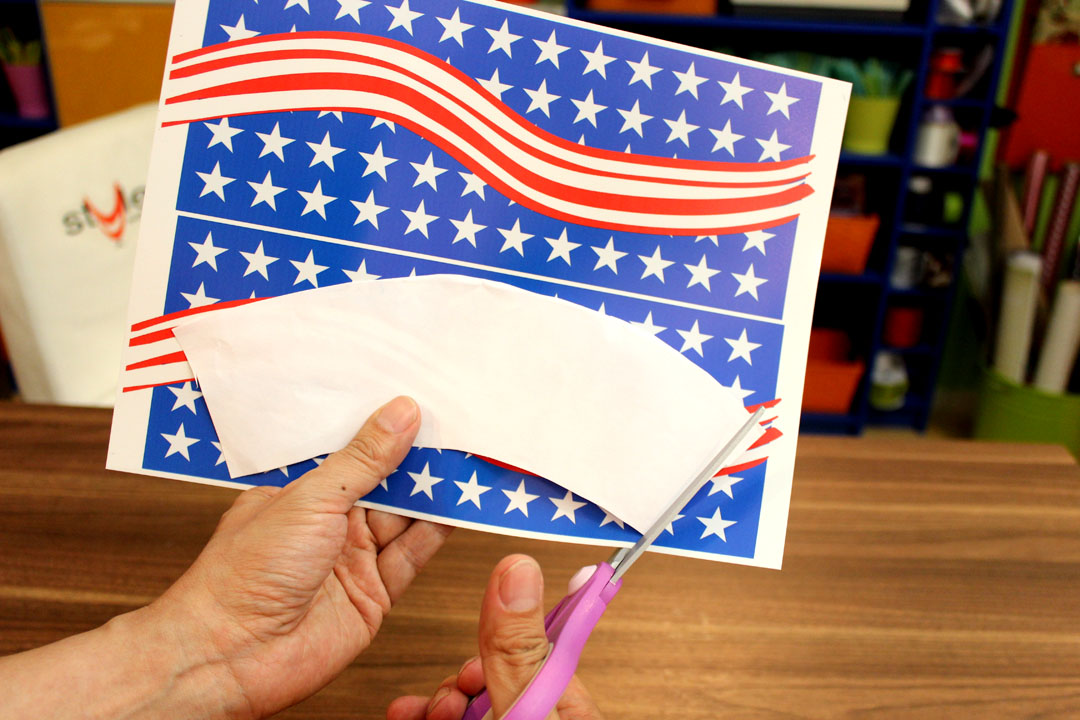
STEP 2: Create a template of the outside surface area of the plastic cup by wrapping paper around the cup and trimming it.
 STEP 3: Use the template to trim the Craft Attitude film to the appropriate size to fit the outside of the plastic cup. There’s enough film for two plastic cups per sheet.
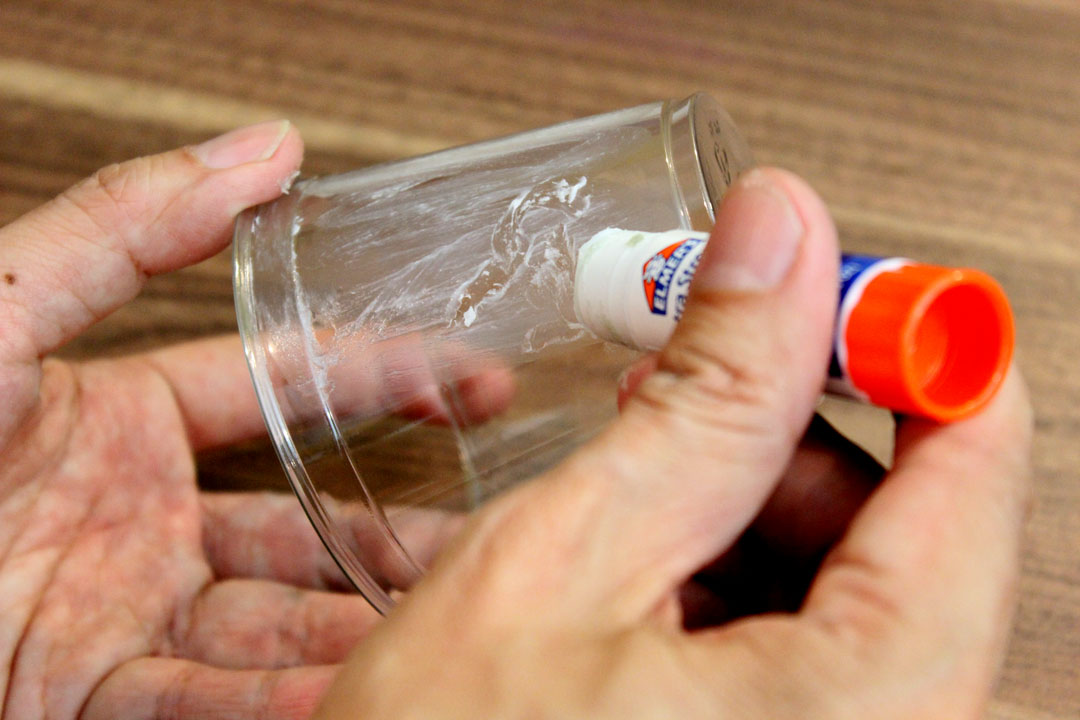
 STEP 4: Rub a glue stick all over the outside of the plastic cup. Use your fingers to even out the glue and get it into the rim.
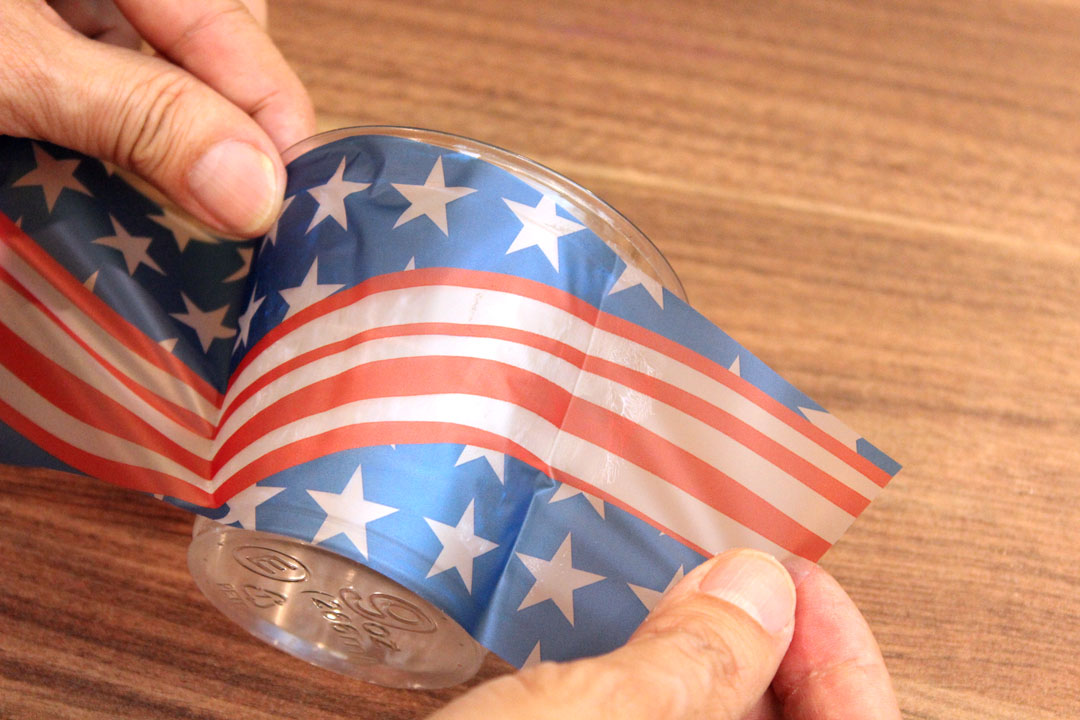
STEP 5: Peel the Craft Attitude film from its protective baking and position it face down (ink side down) on the glued surface.
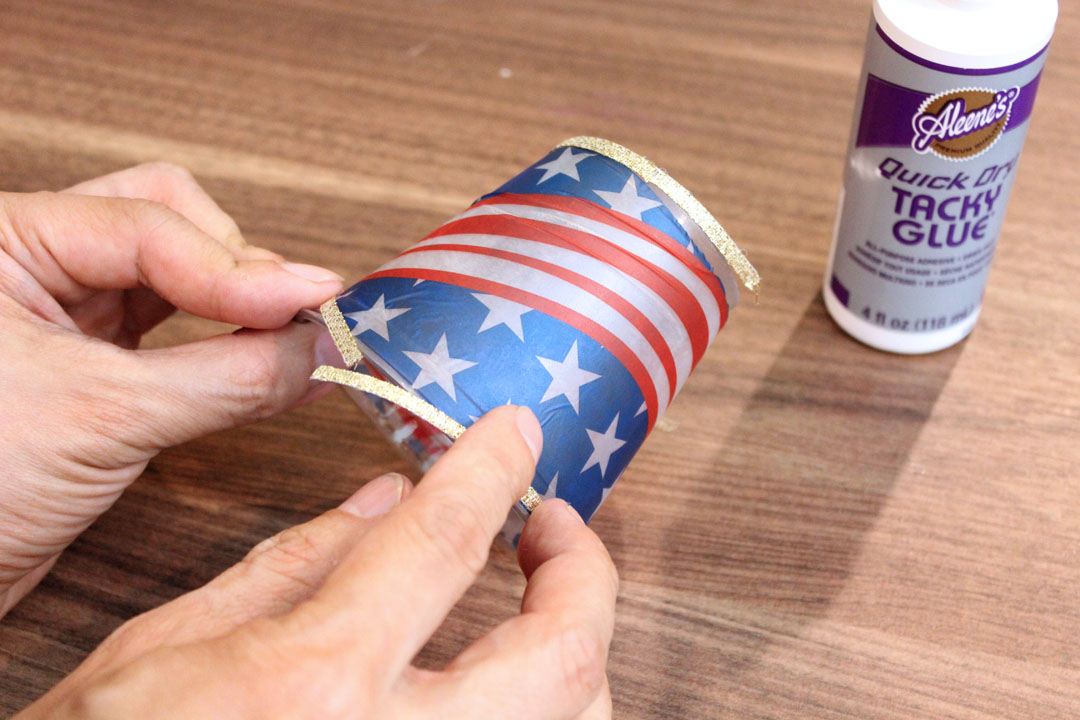
 STEP 6: No matter how careful I am, it’s still hard to line up the film so that the top and bottom edges are straight. Hey, I’m not that coordinated. That’s why I add a strip of gold ribbon at the top and bottom, to hide my mistakes.
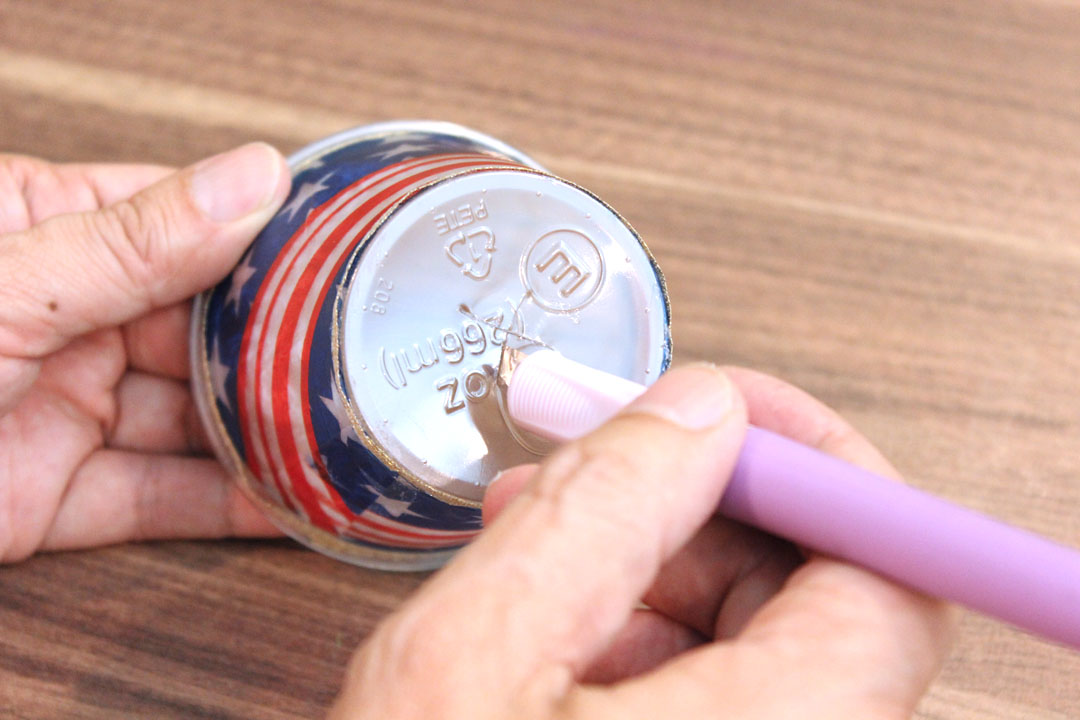
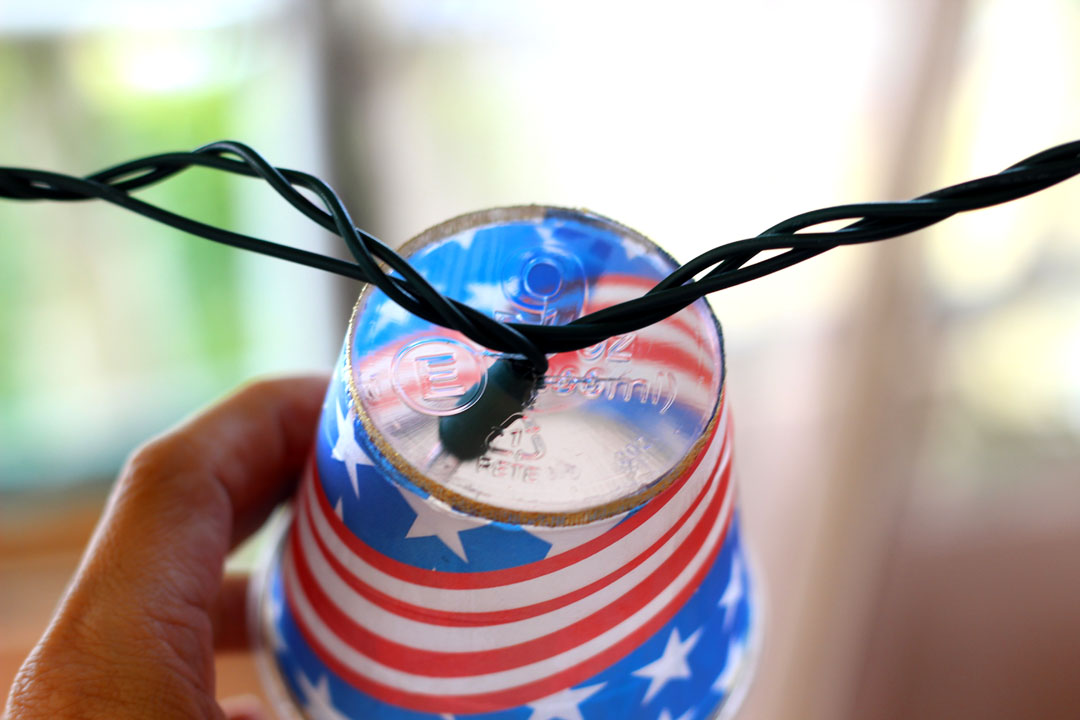
STEP 7: Using a craft knife, cut an “x” on the bottom of the plastic cup. This is where the light bulb will slide through. There are two kinds of plastic cups – the soft plastic ones, and the hard plastic ones, sometimes called “crystal.” You want the soft plastic ones, so the craft blade will cut through. Each cut of the “x” should be about 1 inch. Push the “x” in with your finger slightly to open it up, which will make it easier to insert the light bulb.
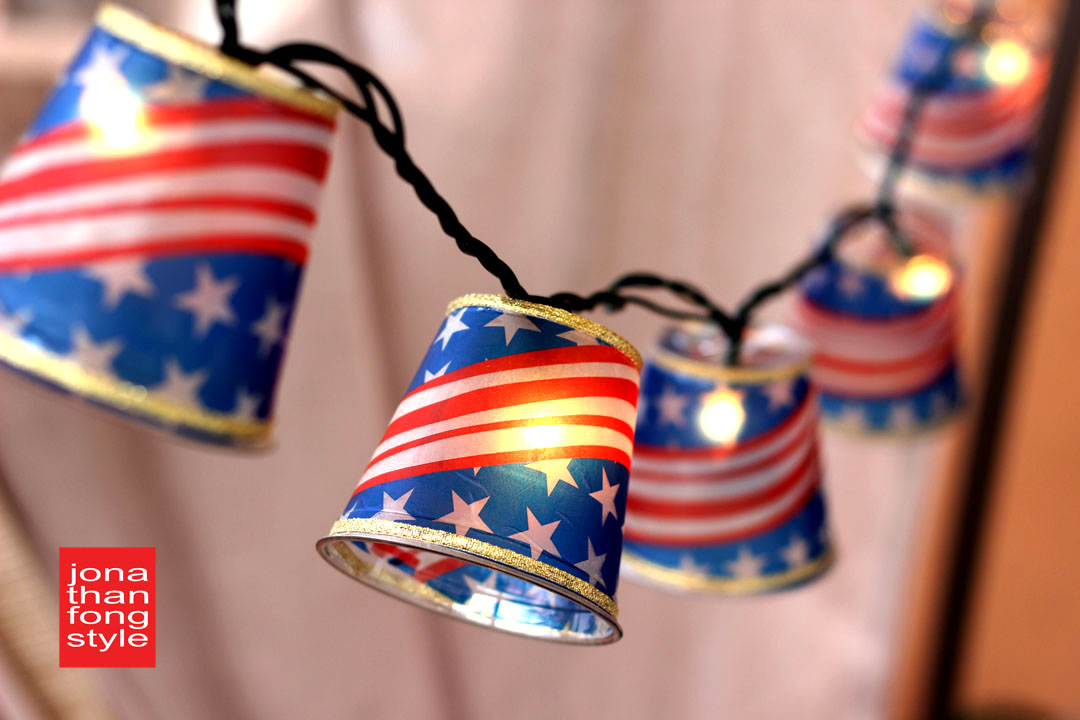
STEP 8: Carefully slip each light bulb into the opening you’ve created. A typical string light has 10 lights, so you’ll need 10 of these light covers.
Wouldn’t it be fun to replace these depending on the holiday? Or personalize them with photos for someone’s birthday party? Craft Attitude lights up the possibilities.
Look for these designers on these dates at www.craftattitude.com and each of the designer’s blogs as they share their projects…
June 10: Jonathan Fong & Candie Cooper
June 13: Terri Sproul
June 17: Eileen Hull
June 20: Cindi Bisson
June 24: Jen Goode
June 27: Aunt Peaches
July 1: Lorine Mason
![]()
This is GENIUS! Who doesn’t have an extra string of christmas lights and a sleeve of party cups lying around!!!? LOVE!
Sooooo cool! Very patriotic. And that touch of gold makes all the difference!
Thank you! That touch of gold hides my not-so-careful trimming.