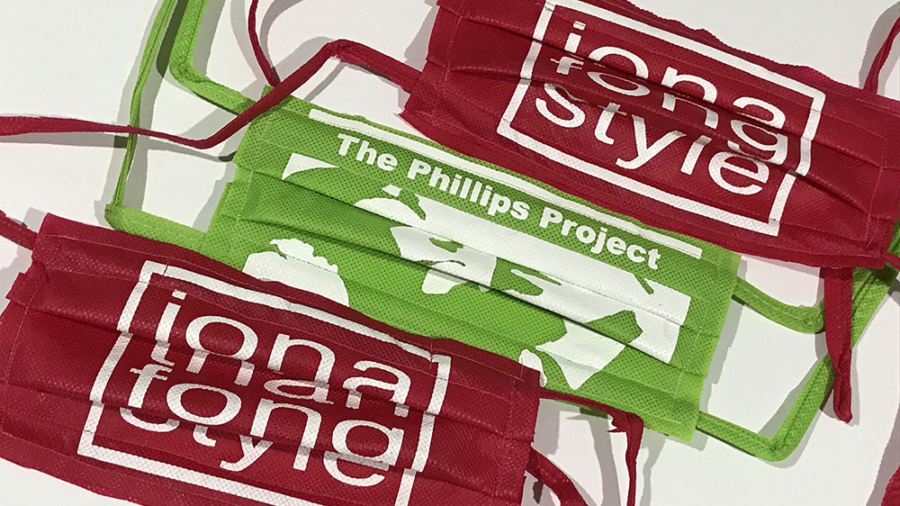
Everyone’s making their own masks now. I’m so impressed by my crafting colleagues who are churning out hundreds of hand-sewn masks for medical professionals and the public. I have been slow to jump on the DIY face mask train because 1) I’m a terrible sewer, and 2) I did not have any fabric. As I was rummaging through my closet looking for shirts I could sacrifice to turn into masks, I found a stash of old Jonathan Fong Style tote bags that I used to give out at home and garden shows. Wait, these tote bags are made from non-woven polypropylene, very similar to Oly Fun, which all the DIYers have bought out for face masks. So, I thought, why not make masks out of these tote bags? 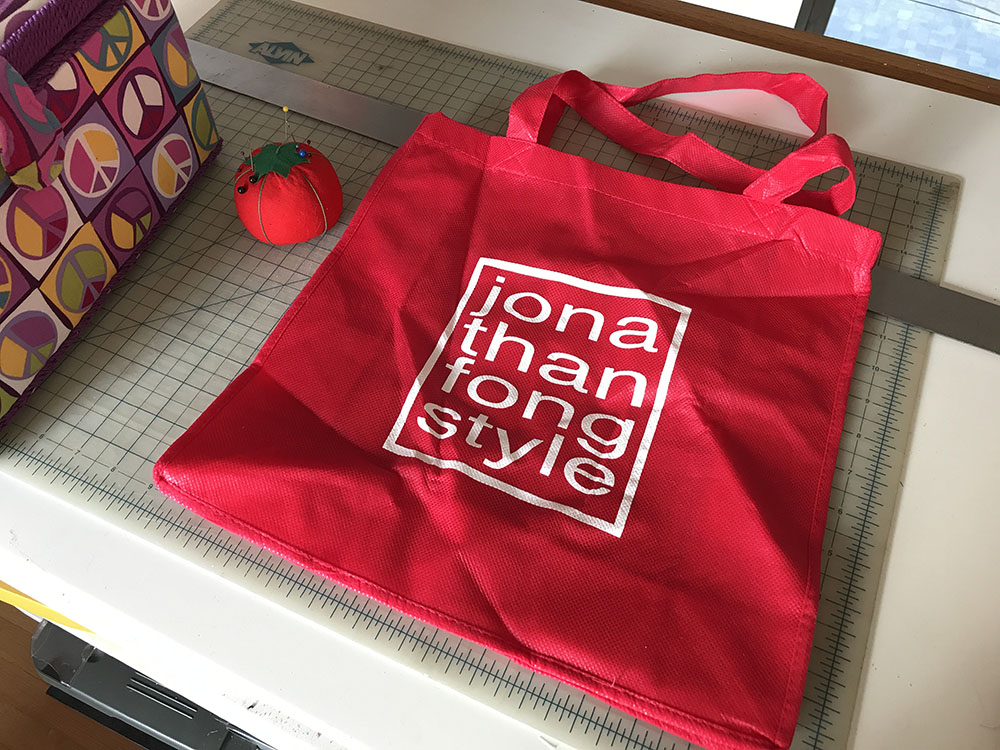
Again, I am the world’s worst sewer. I have a real hard time sewing in a straight line. Also, the thought of threading the needle and setting up the bobbin make me break out in a sweat. The non-woven material of the tote bags (and Oly Fun) makes it easy for beginning sewers like me because the fabric does not fray, so I don’t have to worry about hemming or turning fabric inside out.
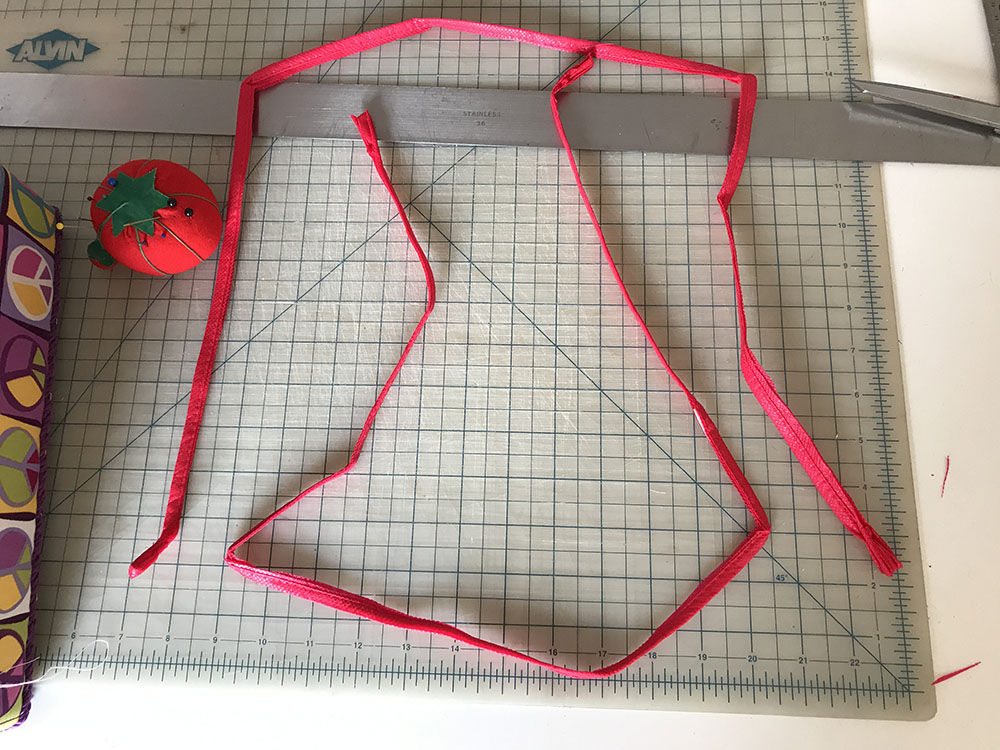
Another problem I had when deciding whether to make my own masks was I did not have any elastic for the straps. I looked at some tutorials for masks with fabric ties, but these required 40-inch long pieces of fabric, and like I said I did not have any fabric on hand. As I was studying the tote bags, I wished that the handles on them would work for the straps, but they were too short. Then I was staring at the sewn seams along the edges of the bags. They provide the structure of the bag and go along the three edges of the front and back side of the bag. Lightbulb moment! These would be the ties for the mask. I cut these sewn seams along the edges, and they turned out to be 36 inches long, just shy of the 40 inches in the other tutorials. Close enough. That’ll work. Because they go along three sides of the bags, they do have 90-degree angles on them, but again, close enough, they pull straight to tie.
So here’s how I made the face masks. My first one, which I am modeling in the picture at the bottom, was really rough. My sewing was all over the place, and there were so many mistakes. But by my third mask, it was much better. Still not something I’d want to hang in the Louvre, but good enough.
Now, before showing the steps, I do want to emphasize that these are not surgical masks, and I don’t know how much protection they offer from germs and viruses. But at least when I wear one, I can feel like I’m doing my best to not spread germs myself if I cough or sneeze. And the non-woven material supposedly provides a better barrier than cotton. Enough exposition. Let’s get to the tutorial.
- Cut two 7″ x 9″ pieces from the tote bag. At first, I marked the pieces with chalk and then cut the two pieces separately. By the second mask, I realized it would be easier to pin two pieces together and then cut the exact measurements. (I know my fabric is really wrinkled. I didn’t bother ironing it because this material doesn’t hold up well to a hot iron.)
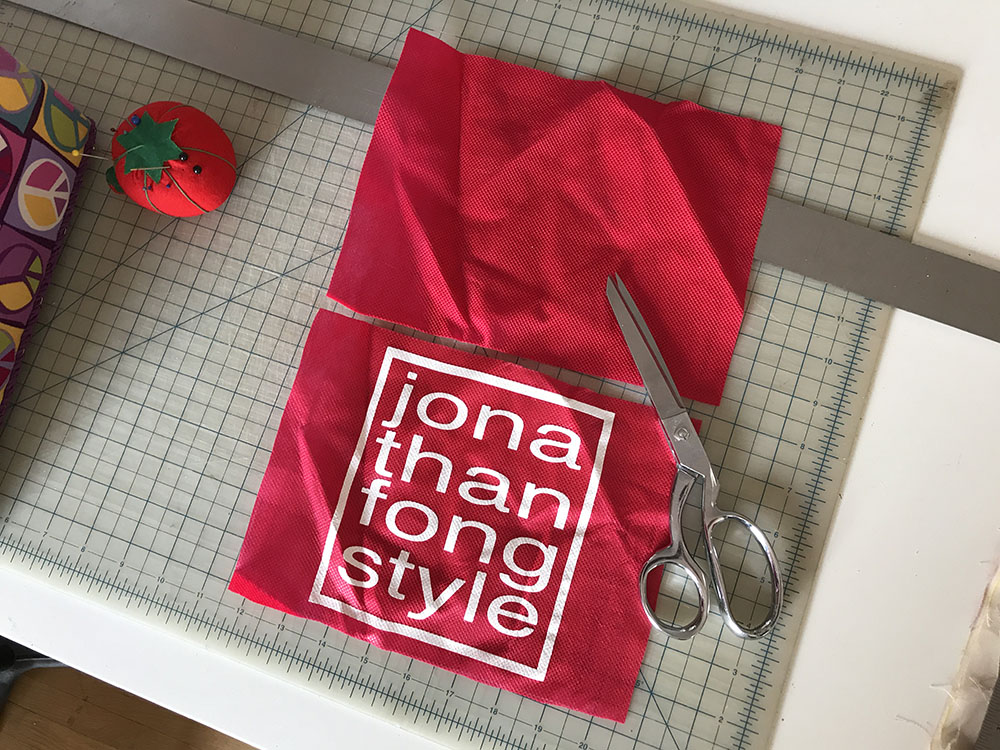
- Cut the sewn seams along the edges to make the ties. (By the time I made my second mask, I realized that this is really the first step, because after cutting off these edges, then the front and back sides of the tote were ready to cut into 7″x9″ pieces.)
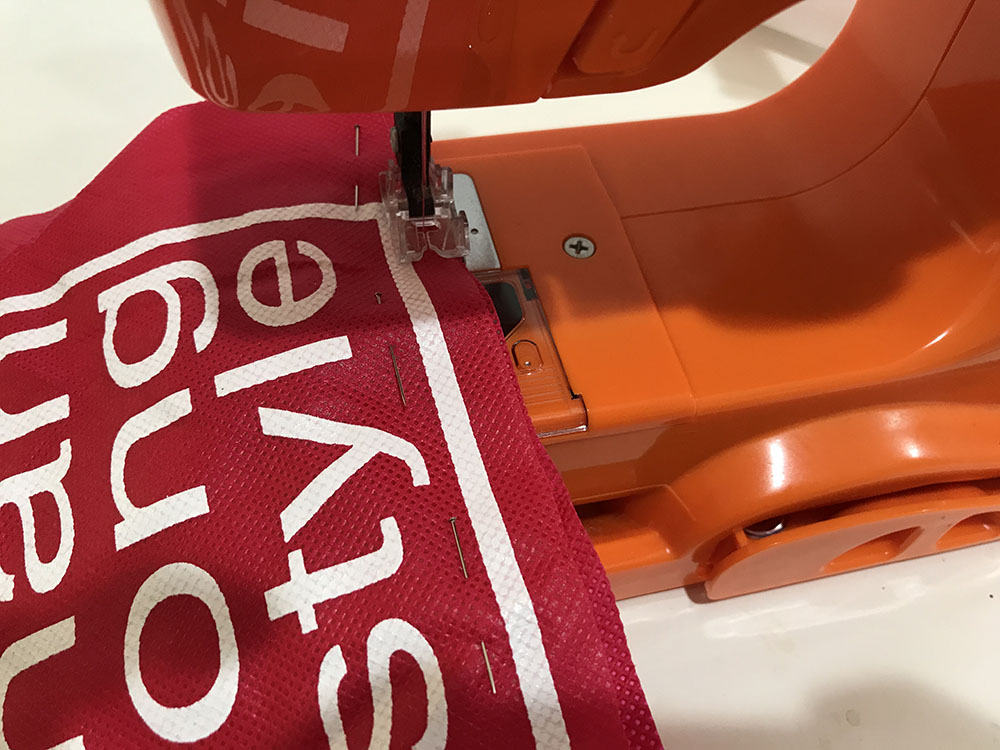
- Sew the two 7″x9″ pieces together along the top and bottom edges.
- Insert the straps between the two sewn pieces with one at the top and one at the bottom. Pin them in place. At this point, you can also insert a twist tie or piece of wire at the top for a nose thingamajig that you can bend to make it fit better. Sew along the top to create a channel for the strap, then continue on the side, then continue along the bottom to hold that strap in, and then finish along the last side.
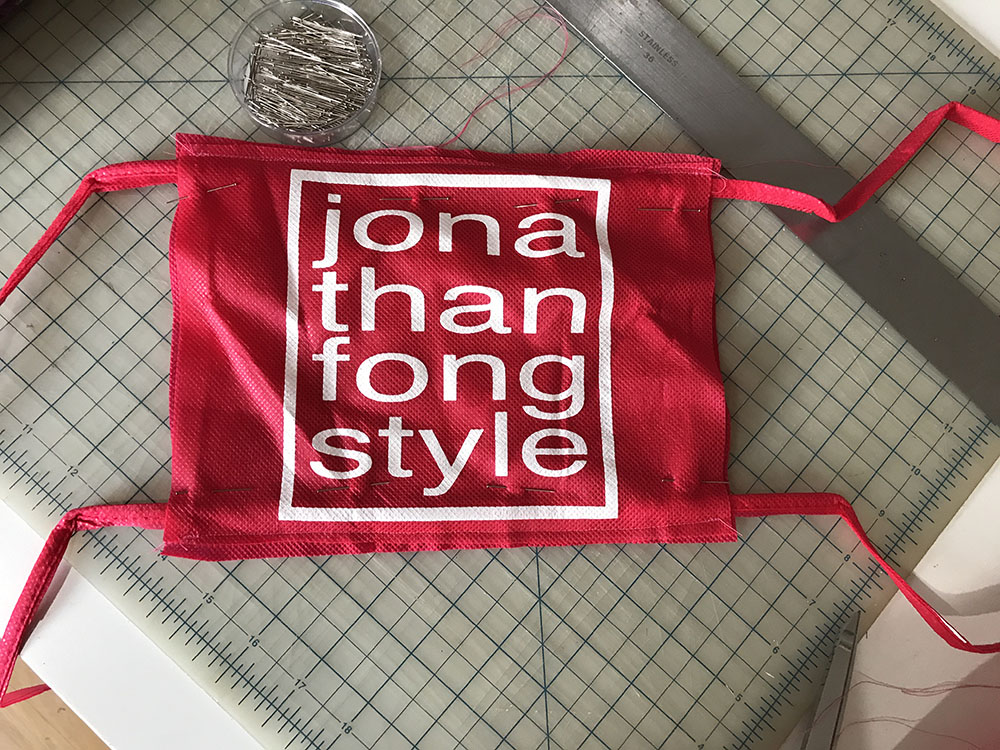
- Make three pleats and pin them in place. Then sew vertically along the left and right edges to lock in the pleats.
 Not bad for someone who can hardly sew.
Add a Comment