Like the rest of the world, I am obsessed with “Frozen.” I have the movie on continuous loop in my studio. I have the karaoke version of “Let it Go” in my car so I can belt it on the freeway. And now, I have created the ultimate project for a Frozen party: a votive holder that is actually a block of ice, with Elsa frozen inside! After all, “the cold never bothered me anyway.”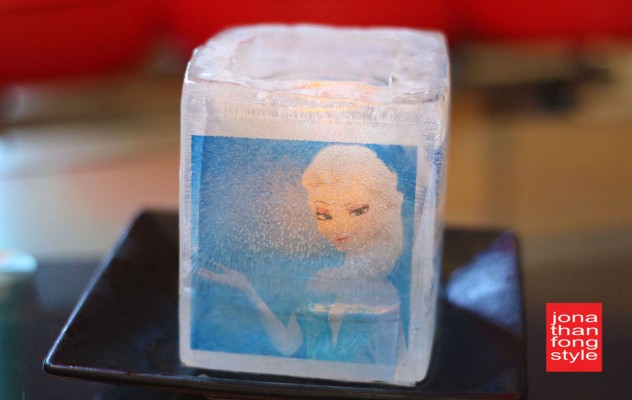
WHAT YOU’LL NEED: Half gallon juice carton, smaller juice carton, skewers, clothespins, glue dots, Craft Attitude printable film, lamination pouches, laminator, distilled water.
STEP 1: Drink some juice. First, you will need a half gallon carton, so buy your favorite juice, drink it, and wash the carton. (The lemonade/iced tea I bought was actually 5 ounces short of a half gallon. How long have they been gipping me?) Then you will need a smaller carton. I used the little orange juice carton I got with my Jack in the Box breakfast combo. 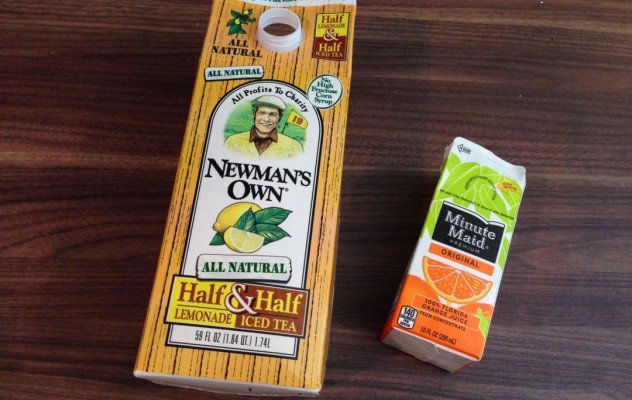
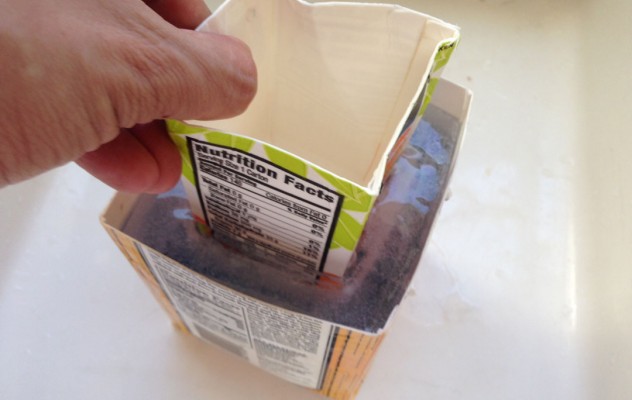
STEP 2: Cut off the tops of the carton so the large carton is about 5″ high, and the small carton is about 4″ high. The smaller carton will sit in the larger carton to create an ice mold, but we want the small carton elevated about an inch so the ice votive holder has a bottom to it. Therefore, we need to suspend the small carton with skewers, as you see in the photo. 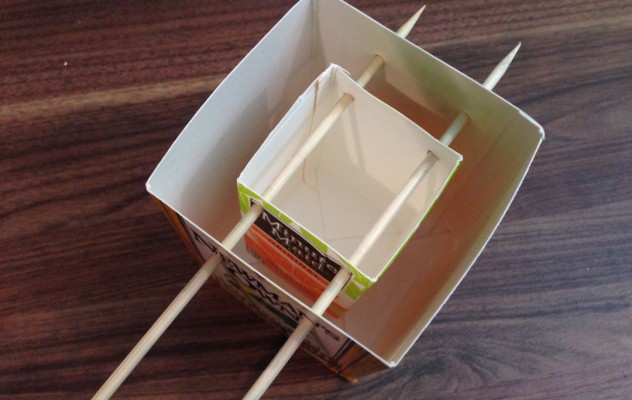
STEP 3: Now print some photos of Elsa on a sheet of Craft Attitude printable film using your inkjet printer. I chose to print on Craft Attitude film rather than regular paper because the film is transparent, so Elsa’s image will be transparent in the ice. Oh, and I sized the images so they were just a little smaller than the width of the larger carton. 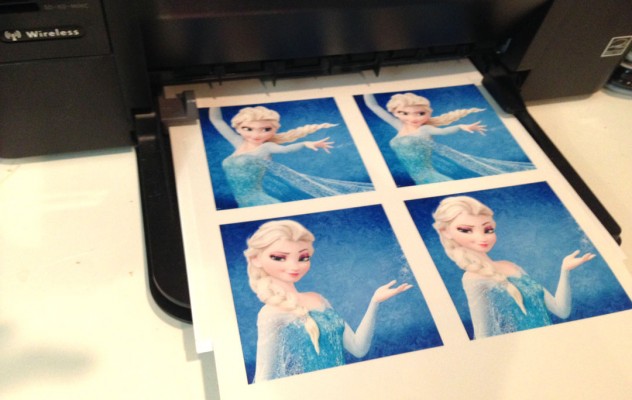
STEP 4: Cut out the images, peel the film from its protective backing, and place the film in a lamination pouch. I have a stack of 4″x6″ lamination pouches I got from Staples. The pouches are frosted, as you see in the photo, but when they go through the laminator, they turn clear. The 4″x6″ pouches are too big to fit in the cartons, so after you’ve laminated the Elsa images, trim the plastic so they will fit. The plastic lamination protects the images by making them waterproof in the ice.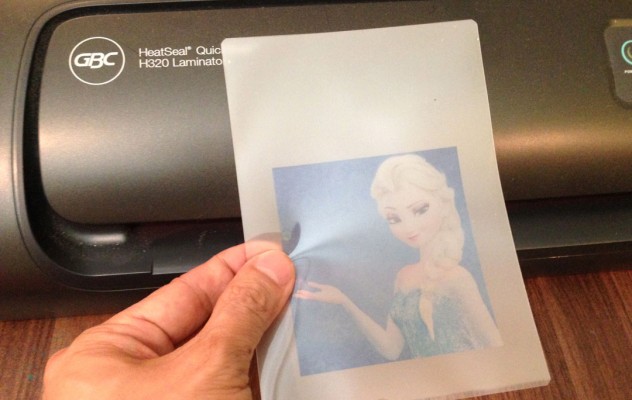
STEP 5: I had 4 pictures of Elsa, one for each side of the carton. The challenge was how to keep the laminated images standing up straight between the walls of the larger and the smaller cartons, as they had a tendency to fall over. Also, when you put water in the ice mold, the images will want to float up rather than stay in place. My solution was holding each image with a clothespin, and placing the clothespin between the cartons. I also put a glue dot on the clothespin so it would stick to the wall of the outer carton. Now the images will stay put. I also put a few rocks in the smaller carton to weight it down.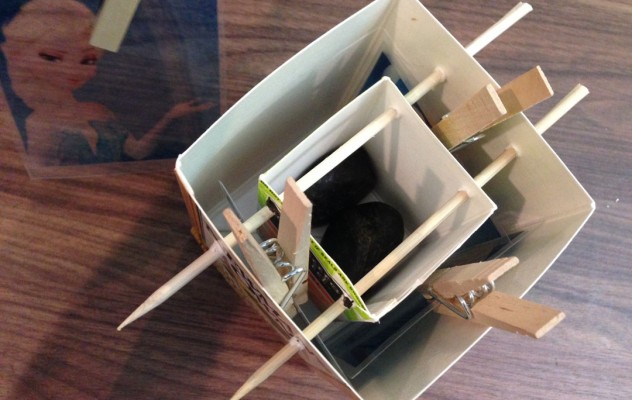
STEP 6: I used distilled water for the ice block because it freezes a bit more clear than tap water. Supposedly if you boil the distilled water, it comes out even more clear, but I’ve done that I haven’t seen much of a difference. Now, the secret to filling the ice mold with water is to do it in two steps. First, just pour in about an inch of water. We only want this first layer of ice to hold the laminated images. If you pour more water than that, you’ll be freezing the clothespins in water, too.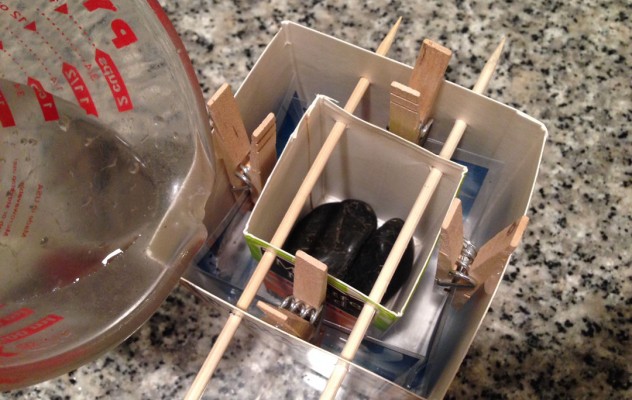
STEP 7: After the first layer of ice is frozen (wait several hours or overnight), the laminated images are frozen into place and aren’t going anywhere. Now you can remove the clothespins and glue dots, and remove the skewers. Then pour in the rest of the water so it just covers the top of the laminated image. Make sure the water is really cold, so it doesn’t melt the ice that’s already in our little contraption. (In the photo, the skewers are still there because I forgot, but I did eventually remove them.) Put it all back in the freezer for several hours until it is frozen solid.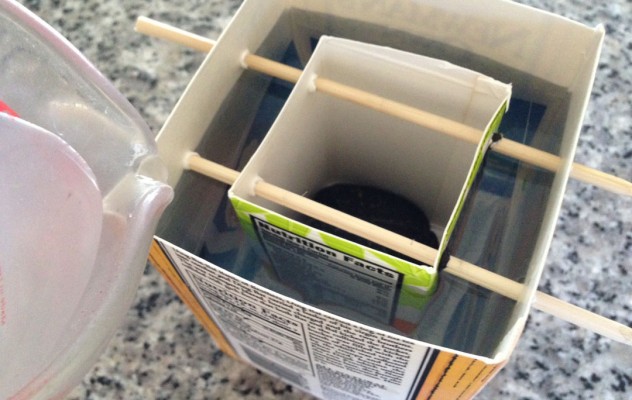 STEP 8: When the ice is frozen solid, take the ice mold to the sink and pour some cold water into the small carton in the middle. Don’t use hot water because it might crack the ice. Just use cold water, and the water in the carton will warm up the ice on the outside. After a while, you will be able to slide out the middle carton.
STEP 9: Lastly, run cold water on the outside of the larger carton. Eventually, the entire ice block will slide out of the carton.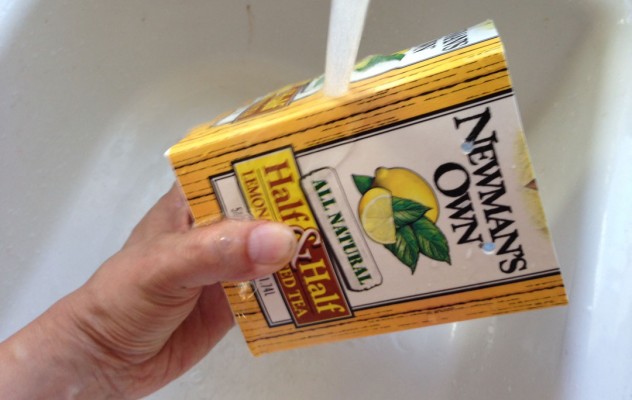
Put a glass votive holder and an LED candle in the opening of the ice block, and Elsa seems to glow. Obviously we’re using an LED candle here and not a real candle because we want the ice to last for a while. And because the LED candle is battery-operated, it’s in a glass holder for protection.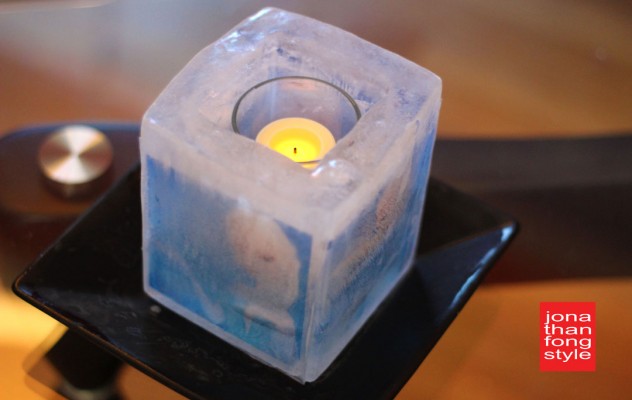
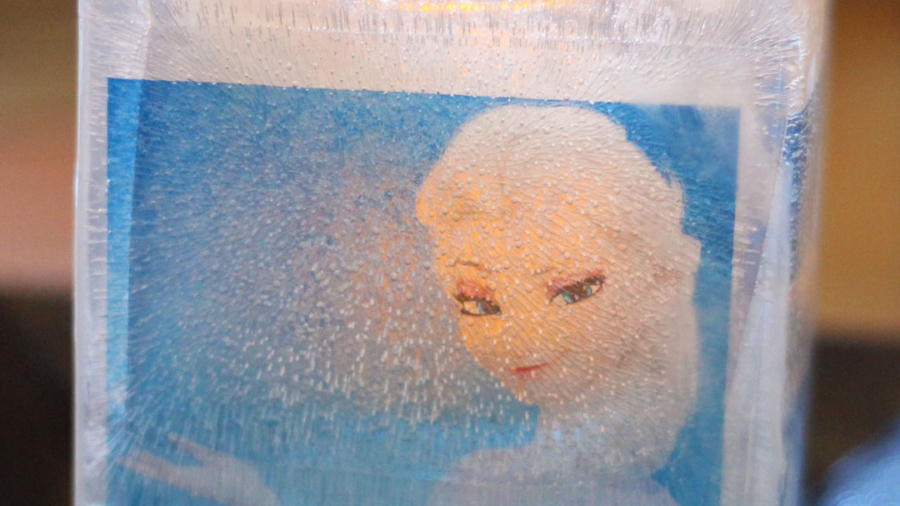
Here is a closeup of the ice surrounding Elsa. I love the pattern of the ice. It’s like her “soul is spiraling in frozen fractals all around.” Okay, I’m off to watch “Let it Go” on YouTube again.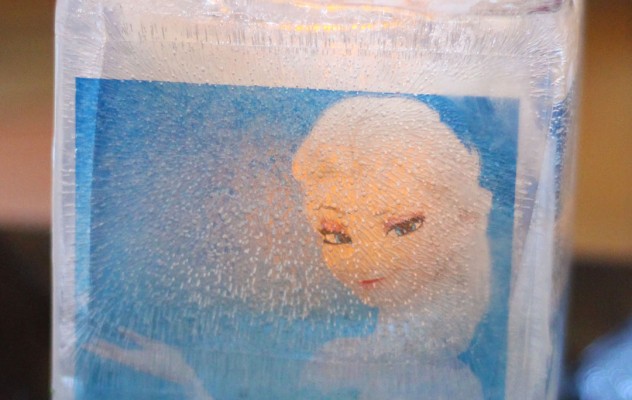
.


Love this Jonathan! I just posted this in my catering networking group in Facebook. This could be so cool for weddings, using pix of the bride and groom at different ages. So much cooler(literally) than just pix on a stick like we usually do!
If you’re going to freeze the ice in layers, why not just freeze 1″ in the bottom then put the smaller carton in and eliminate the skewers?
Thanks, that’s a great idea. I actually did that with a frozen ice bucket I made this summer. The reason I did the skewer thing was because I wanted the picture to go all the way to the bottom of the carton, and I needed the inner carton to help prop it up as it froze. I didn’t want to freeze a bottom layer without the picture. The next time I make one, I may do it differently. These things are engineering experiments!
this is just beautiful – great hit at a kid’s bday party for sure
Thanks Maria! You’re right, kids would love it.