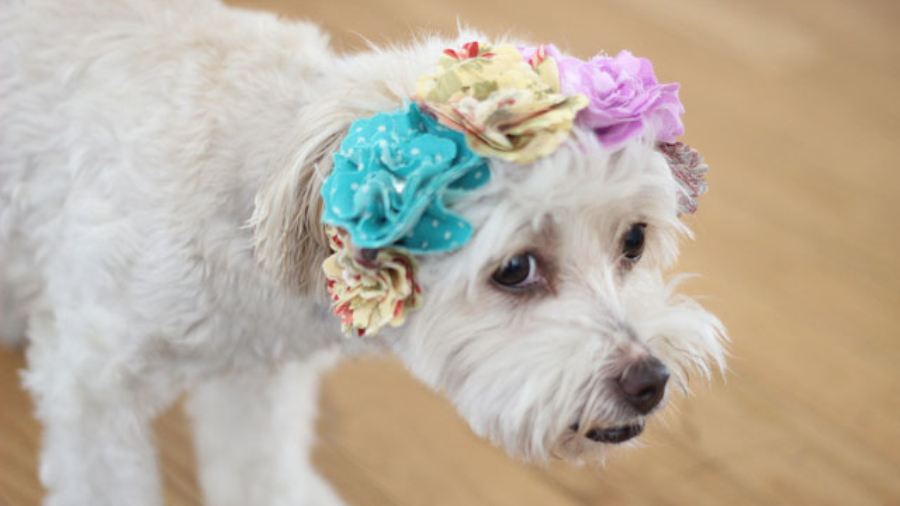
I recently saw the Julian Fellowes miniseries “Doctor Thorne” on Amazon Prime (which I binged in one sitting because it was that good), and the women in it wear the most glorious floral crowns. So of course I had to make one for my dog Fosse.
Fosse looks like she’d fit right in with the Doctor Thorne ladies.
Making a floral crown gave me an opportunity to use the new Sizzix Twist and Style tool from Eileen Hull. It’s a super easy way to twist wire (and lots of other things) together, and it worked beautifully to create both the wire loop of the crown as well as the stems for the flowers.
I twisted four 18-inch pieces of 20-gauge floral wire using the Twist and Style stool, and then made a loop out of it, bending the ends to make a “latch” for the crown. By twisting four pieces of wire together, I was able to make a strong loop that was easily shaped. You can’t get such a nice loop with just one 20-gauge wire — it’ll bend instead of curve. 
Then I moved on to the flowers. With the Twist and Style tool, I was able to make stems for the flowers. First, I bent a piece of floral wire in half and placed a shank button at the bend, placed that end in the Twist and Style tool, cranked it a few times, and got this perfect stem.
For the flower petals, I used Eileen Hull’s Sizzix Flower/Romance die and her Flower Layers with Heart Petals die. I decided to make the flowers out of fabric so they would be soft and durable for Fosse. For each flower, I die cut four of every layer.
Then I threaded the stem through the middle hole in the layers.
So the flowers would be dimensional rather than flat, I put glue between each layer and scrunched. I used Aleene’s Always Ready Original Tacky Glue. It’s called “Always Ready” because it comes in an inverted bottle with the tip at the bottom. Genius! It makes it so easy to use, and it’s that Aleene’s Tacky Glue we all love so much. (On a side note, I am so happy that packaging designers have discovered inverted bottles — mayonnaise, toothpaste, hair gel — life is so much easier when what you want to squeeze is already at the bottom.)

Attaching the finished flower to the loop was easy, as the wire of the stem wrapped around the loop very tightly. 
An optional step is to wrap floral tape around the wires. This secures it even more (which isn’t really necessary), but mainly it covers the sharp ends of the wires so they don’t poke at Fosse.
This is how it looked when it was done.
And this is how Fosse looks wearing it. She is a pretty lady!
Please, someone, ask Fosse to be in your wedding. (Although I can’t guarantee you she will be that well-behaved walking down the aisle.)
Disclosure: I have not been monetarily compensated for this post, though I received product from Sizzix to try it out. All opinions are my own. And Fosse’s.


Wow! I had no idea there was a special tool made by Eileen Hull nonetheless, that aids in twisting wires! I recently have been asked to make some flower, mermaid and festival crowns and was researching the best way to make the bases without using an expensive premade one or a cheap plastic headband and this tool looks perfect! Thanks for the demonstration and your flower crown is perfection (the puppy is equally as adorable adorned with it) I’ve just ordered my own tool and can’t wait to get started. Thanks for the great tutorial!
I’m so glad you found this useful. The Twist and Style tool works wonders. There are many YouTube videos on how to use it too. Thanks for commenting, Jessica!
Hey we have a wedding coming up in October- we can fly Fosse in 🙂 This crown is adorable! Let’s hope they come back in style here someday…
I loved working with the Twist and Style tool, Eileen!
I just LOVE Fosse’s beautiful floral crown! what a creative idea – and wonderfully executed Jonathan! Wouldn’t she just look adorable walking down the aisle!
Thanks Julia! She cleans up nicely for a rescue pup. It’s like she puts the crown on and is transformed! Ha!