It’s the Craft Attitude Holiday Blog Hop, and to kick things off, I’m throwing caution to the wind and trying something new. You know how I’ve used Craft Attitude printable film on a ton of projects so far. Well, today I’m using Craft Attitude, but I’m not going to print on it. And you know how Craft Attitude can be applied to practically any surface with a glue stick or spray adhesive. Well, today I’m not applying it to any surface. No sir, I’m using it on its own. What?! Get the smelling salts, it’s true. I made these gorgeous holiday roses with just a few sheets of Craft Attitude film and some Clearsnap ColorBox Crafter’s ink. It’s really easy to make these roses, which would look great in all your holiday decorating and beyond. And the Craft Attitude looks jut like rose petals when we’re through with them.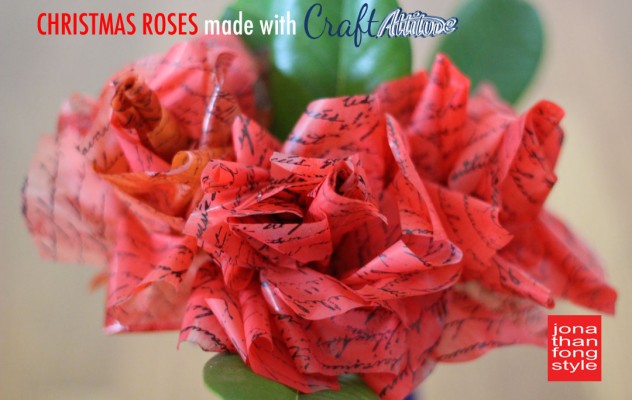
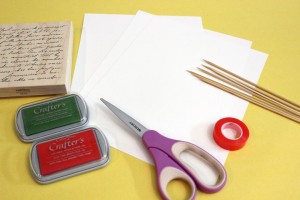
Here are the supplies I used:
2-3 sheets of Craft Attitude film
ColorBox Crafter’s ink pads – red, green and black
Judikins French Love Letter Background stamp
Skewers
Recollections double-stick tape from Michael’s
Step 1: For the first few steps, keep the protective backing on the Craft Attitude film. This makes it easier to work with. Start by cutting wavy lines on the long edges of the Craft Attitude film. I do this so the rose petals aren’t so “square.”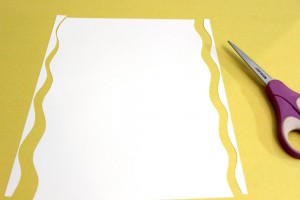
Step 2: Instead of printing a design on the Craft Attitude, I’m coloring the film with Clearsnap Colorbox Crafter’s ink pads. I rubbed the ink pads directly on the film. Two sheets of Craft Attitude were rubbed with red ink, and one was rubbed with red ink on the sides and a green stripe in the middle. That green will be for the outermost layer of the rose. Then heat set the colors with either an iron or a heat tool. I used a heat gun.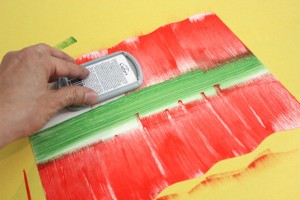
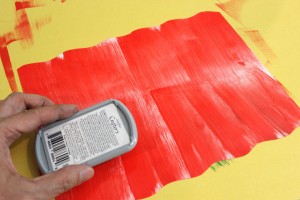 Step 3: I could have left the Craft Attitude with just the color, but I thought adding a design on top of that would add dimension. Plus it would be more festive. I decided to use Judikins’ French Love Letter Background because the words give it that certain “je ne sais quois” for the holidays. I used Clearsnap’s ColorBox Crafter’s black ink (called “Night”) for this. Be sure to heat set this ink as well.
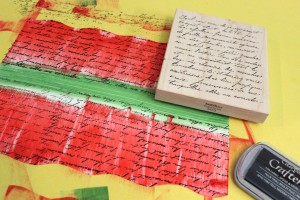
Step 4: Now take some scissors and cut about 4 slits on each of the wavy sides, but don’t cut all the way to the center. Cuts that are around 3 inches are ideal. When cutting, the slits don’t have to be equidistant. 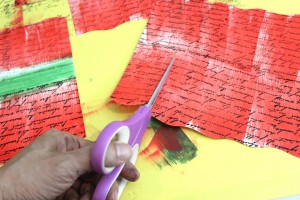
Step 5: Now peel the Craft Attitude from its protective backing and stack the sheets on top of each other, ink side up. The sheet with the green stripe should be on the bottom, which is why you can’t see it in the picture. Look, the petals are already curling like they’re supposed to!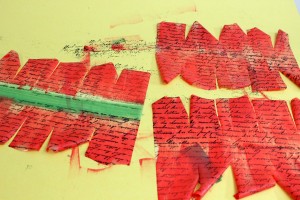
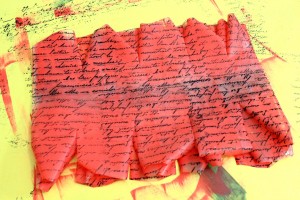
Step 6: Fold the stack of Craft Attitude sheets lengthwise. The ink helps hold the inside edges together. You can now see the green at the bottom fold. Apply a strip of double stick tape to this bottom edge.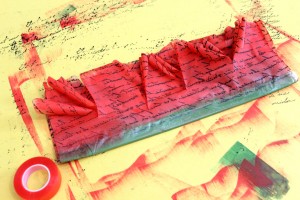
Step 7: Now it’s the fun part, and we can create the flower before our eyes. Place a wooden skewer on the far right edge of the stack, making sure it adheres to the double stick tape, and start rolling the Craft Attitude around the skewer, squeezing with your fingers where the tape meets the skewer.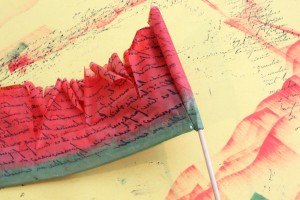
Step 8: As you go around, start fanning out, but keep squeezing the part where the tape meets the skewer. 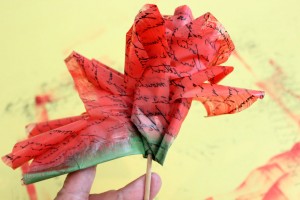
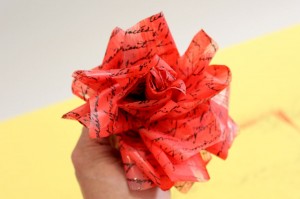
Step 9: Keep going around until the flower is complete. The petals, which you precut in an earlier step, now just fall naturally around the rose. If you don’t like the placement of certain petals, just adjust them. You can arrange several of these flowers in a vase for a holiday arrangement, or even place them on gifts instead of bows.
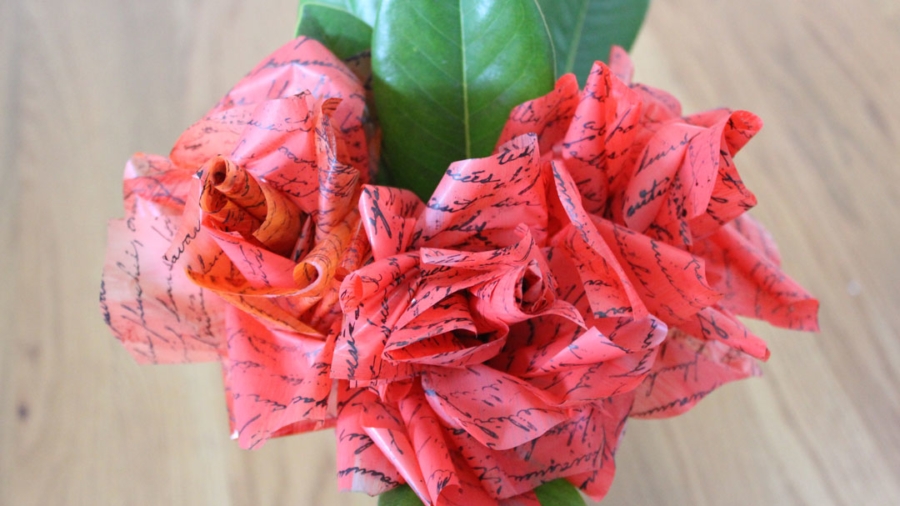
On the photo below, the rose on the left was made with two sheets of Craft Attitude, and the two other roses were made with three sheets, so you can compare the fullness of them. I hope this project has inspired you to not only use Craft Attitude in one of your projects, but to think outside the box and use it in an unconventional way. Boy, I wish I had these for my book “Flowers that Wow.” (Shameless plug)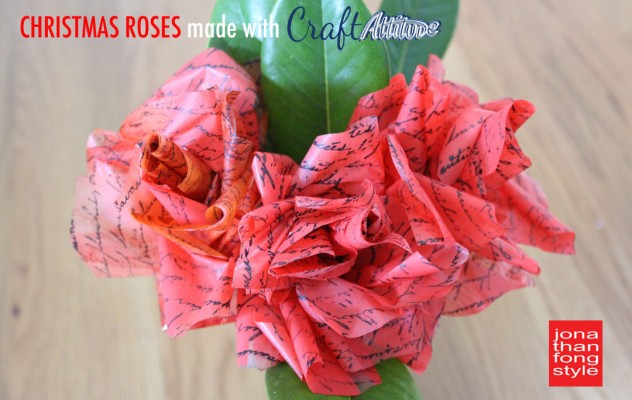 Be sure to see all the projects coming up in the next days and weeks in this blog hop.


This is Crazy amazing! I am going to have to go look for this film! I thought it was a pre-made ribbon at first…it looks really great. So clever:)
Thanks Molly! You’re the best.
Neat-o torpedo! It’s the bomb, as in very cool!
Evie, thanks for taking the time to comment! Glad you think it’s da bomb!
AMAZING! I am awe struck!!! Definitely giving this a try! Thanks for the inspiration!
Thanks so much, Barbara! Hope your holidays are great!
As per usual..amazing. Love this one a lot!
Thanks Kristi!
This is such a clever idea Jonathan! What a great accent for a holiday wreath, tree, or anywhere around the house, any time of year! Absolutely fabulous! Julie 🙂
Thanks Julie! I want to fill my house with them.