I was recently asked to participate in eHow‘s Project Throwdown Challenge, in which they invited six designers to make one home decor project using our imaginations and four specific materials: 1) an IKEA Lack table, 2) a sonotube of any size, 3) chains of any size, and 4) paint, stain or decoupage. See what the other designers created here on eHow’s Project Throwdown page. AND TO VOTE FOR MY PROJECT, PIN IT here. 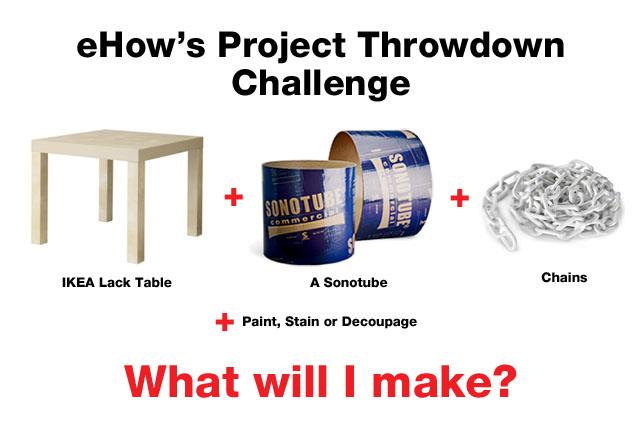
I had never even heard of a sonotube before. Had you? They are those cardboard cylinders that they use to pour concrete into to make columns. Home Depot sells them in various diameters, the largest being 14″. For what I wanted to make, I needed one that was bigger – the width of the Lack table – so I found a place online called discountcontractorsupply.com. Not only do they have the sonotubes in big sizes, they also cut them to your needs, so I was able to order a 2-foot section.
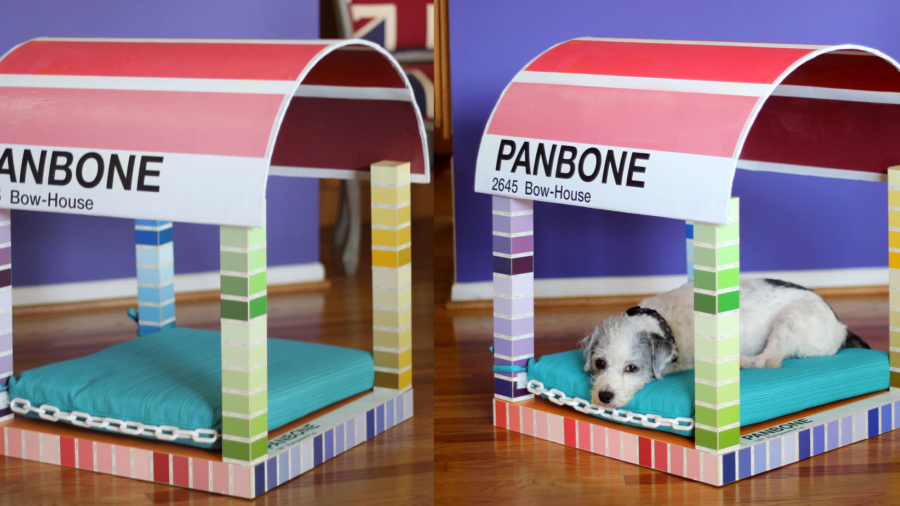
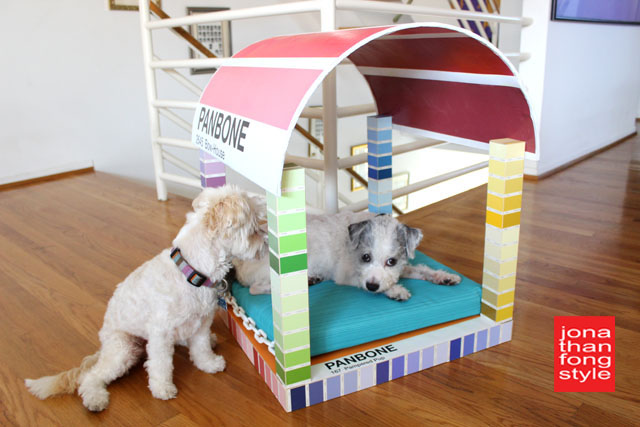
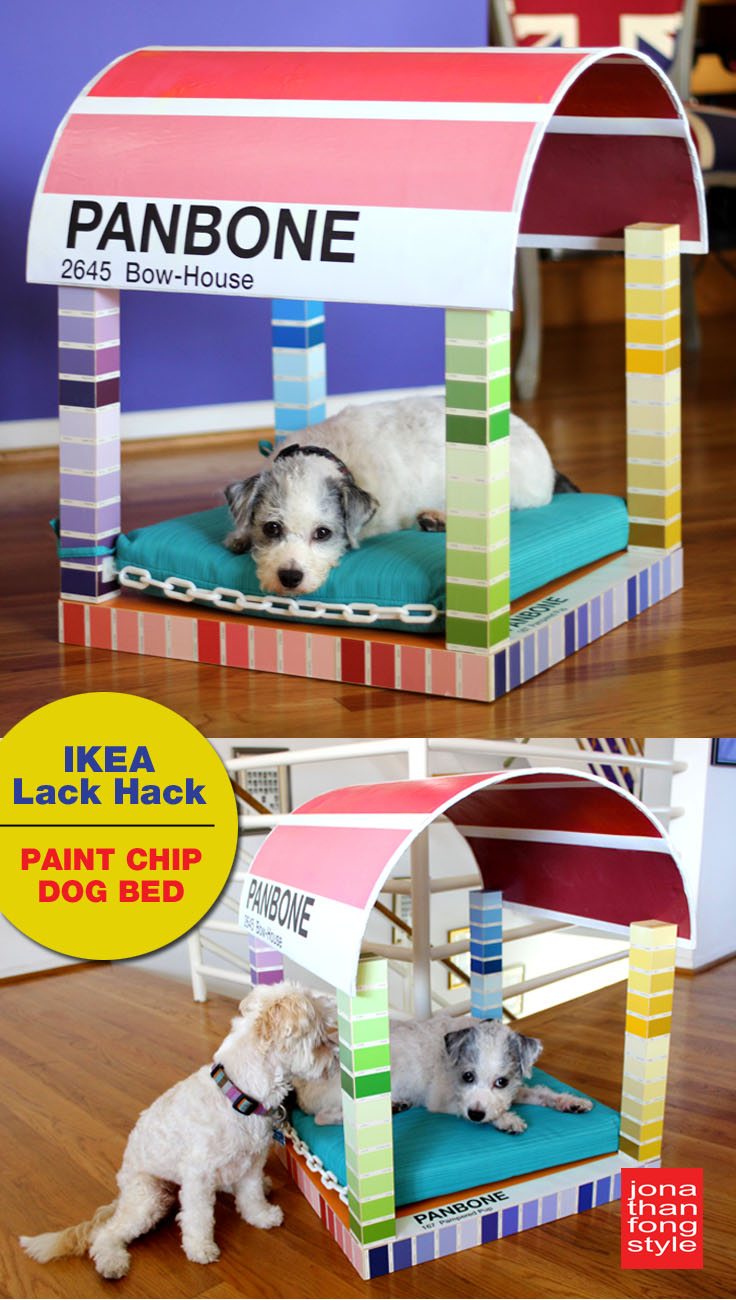
So what did I make? I decided to create a dog bed, as the lack table turned upside down looked like a 4-poster bed. And I thought that the sonotube cut in half would make a great canopy. (That’s why I bought a 20″-diameter sonotube.) And the chains would be the side rails of the bed that would hold the doggie mattress.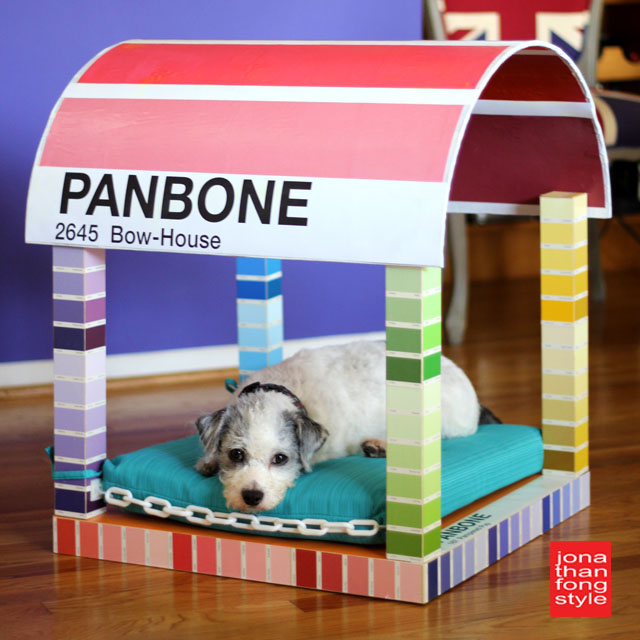
Then, I had to decide if I was going to paint, stain or decoupage. That was an easy decision, because I am a decoupage fiend. But what papers would I use to decoupage? I actually went to Paper Source to buy some beautiful papers, thinking I would use them, but when I took them to my studio and placed them in my flat file storage rack, I was reminded of all the Pantone posters I have hoarded in that very same rack. A while back, at my favorite local art store Mittel’s, I saw a stack of old Pantone posters selling for $1 each, and I pretty much bought all of them. I have hundreds of them. Here’s just some of my stash: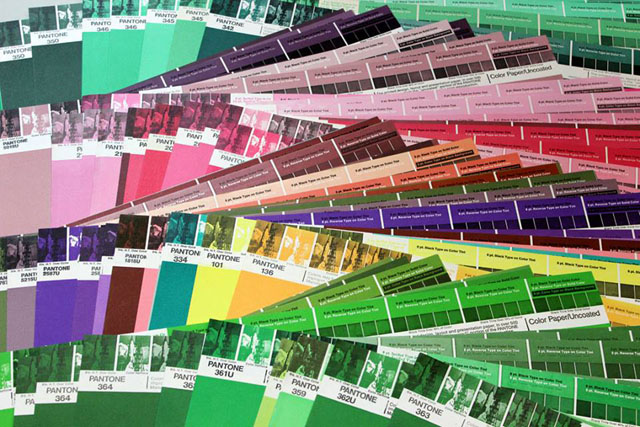
These Pantone sheets were once used for advertising layouts, but since the advent of the computer, ad agencies no longer use them, so they are obsolete. They are prized among collectors, however, and sell on Etsy for upwards of $75 each. I don’t think I’m ever going to sell them, so I figured I would use some of these Pantone sheets to decoupage the dog bed, making it a “Panbone” dog bed. (Yes, I like dog puns.)
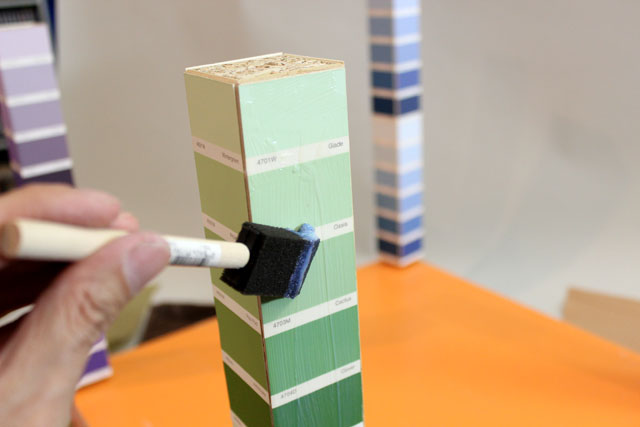
I also have a ton of paint chips, courtesy of fan decks I have bought on eBay. Paint chips are almost the exact width of the Ikea Lack table legs, so I decided to use these to decoupage the legs and the side (or apron) of the tabletop. I just had to shave about 1/8″ from the side of each one so they’d fit.
And obviously I have an obsession for Pantone. Exhibit A: My studio.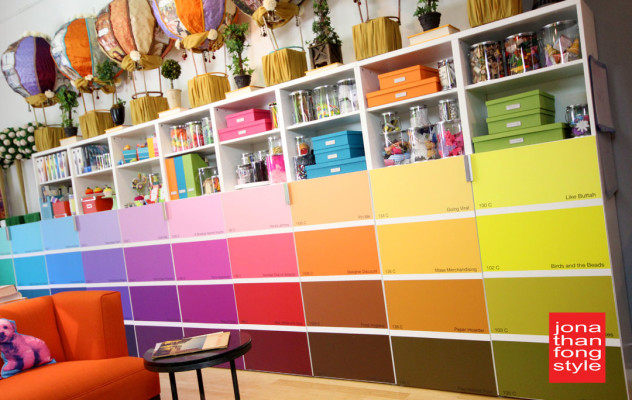
Step 1: Decoupaging the Table
Because I would be flipping the table upside down, I had to decoupage the bottom of the table top. First, I cut one of the Pantone posters to fit the table. (Actually, the poster is slightly too small for the table, which is fine because I was going to add a big “Pantone” strip on one end.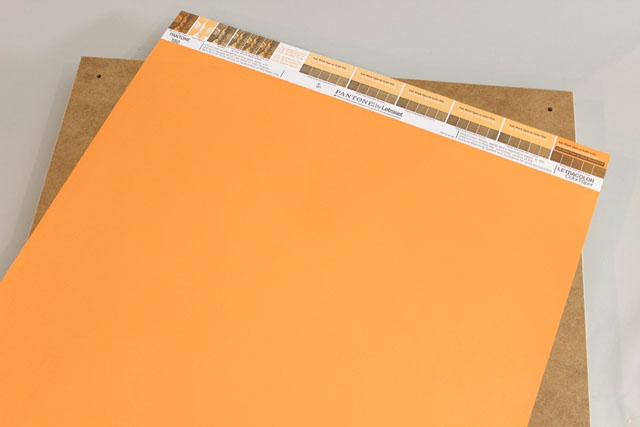
Since this was a simple paper on wood job, I used Mod Podge decoupage medium to adhere the paper, applying Mod Podge to the table and then placing the paper on the surface. However, my trick for decoupaging large pieces of paper is to immerse them in water first. The water relaxes the paper, and more importantly, allows you to reposition the paper. If the paper were dry, once it touched the Mod Podged surface, it would be stuck. I squeegeed the excess water, and the paper was nice and flat on the table with no bubbles. Then I applied Mod Podge over the paper to seal it.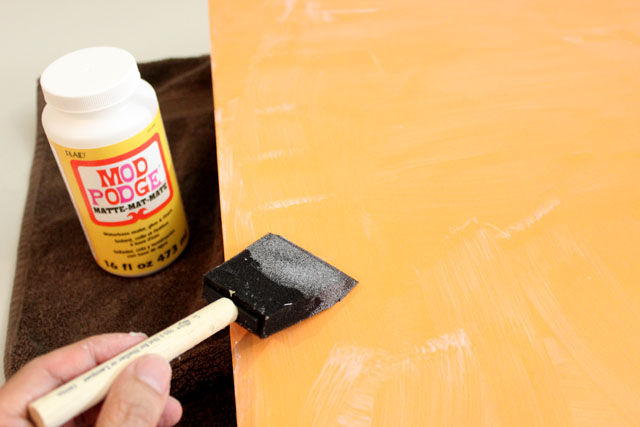
And then I decoupaged a strip of white paper printed with PANBONE and a fake color name.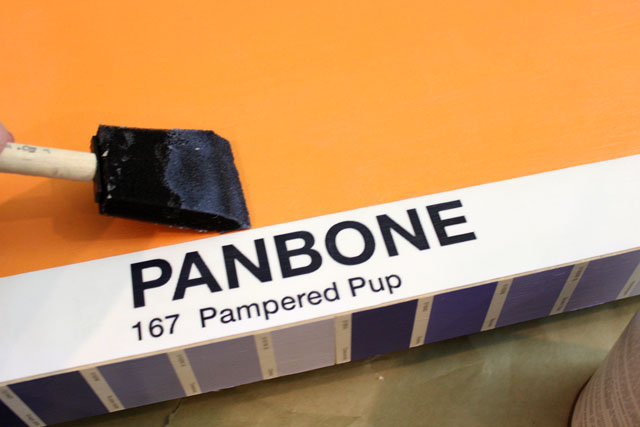
Step 2: Decoupaging the Table Legs and Apron
To decoupage the paint chips onto the table legs and apron, I thought I would do the same thing I did with the table top. But when I immersed the paint chips in water, they puckered because the white part of the paint chip is made of something different from the color part, so the different materials reacted differently to water. So then I tried just applying them directly on the table legs and apron with Mod Podge, but the paint chips still puckered. What finally worked was spray adhesive. I sprayed Scotch Super 77 on the backs and pressed them firmly on the Lack table legs, and they were nice and flat on the surface. See?
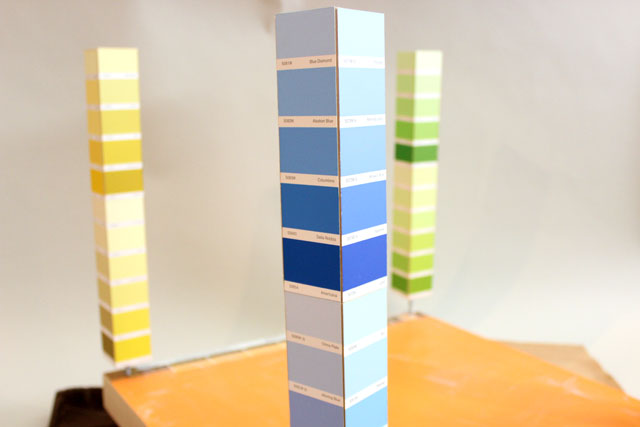 But would they withstand a sealant? Since the Mod Podge made the paint chips pucker, I used acrylic polyurethane instead. I used Benjamin Moore Stays Clear low lustre polyurethane. It was a really old can, and the polyurethane was so dried up and thick it had the consistency of vaseline. But it still worked! In fact, it was even better because it didn’t drip. I applied a couple of coats, and the paint chips were sealed nicely.
Step 3: Cutting the Sonotube
I’m not going to lie – cutting the sonotube was a pain. It is about a quarter inch thick and very solid. I used a box cutter and all the brawn I had, which is not very much. To make sure I cut a straight line, I used masking tape to indicate where my cut line would be, and I used a level to make sure the line was perpendicular to the ends of the sonotube. 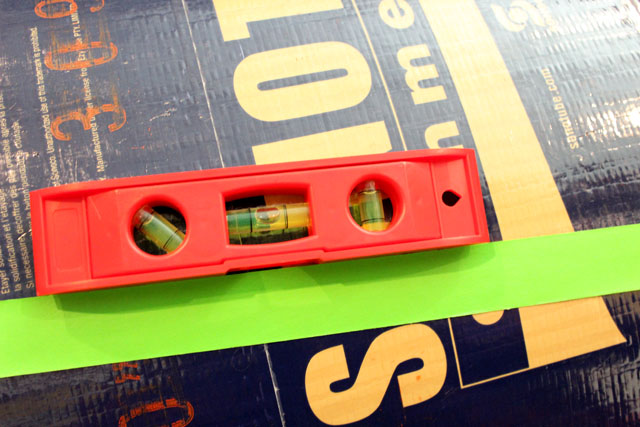
Step 4: Covering the edges of the Sonotube
The edges of the sonotube are pretty ratty because they’re exposed cardboard. To hide them, I covered them with white duct tape. The white duct tape also made a good border for the giant paint chip that the sonotube would become.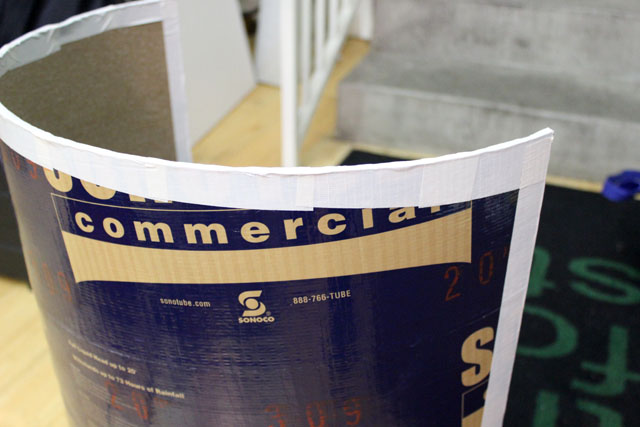
Step 5: Decoupaging the Sonotube
Since I was so successful with the Spray Adhesive/Polyurethane method of decoupage, I decided to try the same with the sonotube. For the sonotube half, which is the canopy of the dog bed, I cut up 5 Pantone posters in different shades of red so that the canopy would be a giant paint chip. I also printed “PANBONE” with a fake color name “Bow-House” on a sheet of paper. Like I said, I like dog puns. I cut additional strips of white paper that would go in between each color strip. Then I spray mounted all the pieces on both sides of the sonotube half. So far so good. However, when I applied the polyurethane on top of the paper to seal it, there was a little bit of puckering. It wasn’t too much, and no one probably will notice, but if I were to do this again, I would decoupage the paper like I did the table top – immersing the paper strips in water and using Mod Podge. When it comes to decoupage, you have to experiment because different papers react differently to various media.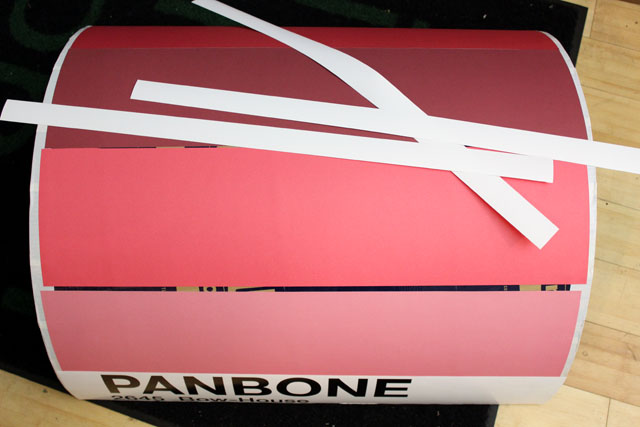
Step 6: Adding the side rails
I bought the perfect doggie mattress in the form of an outdoor seat cushion from Target. To keep it from sliding around on the bed, I used pieces of large, plastic white chain as side rails. To attach them to the posts, i.e. the table legs, I asked the nice man at Home Depot what he would recommend, and he turned me on to these adhesive mounts that hold a zip tie, which then goes around the chain link. Perfecto. I only placed them on the sides and the back, not in front. Doesn’t it look like a boxing ring?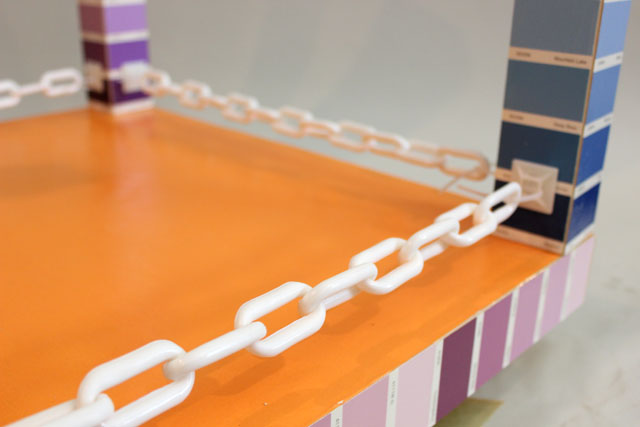
Step 7: Attaching the Canopy
Finally, I placed the canopy over the dog bed, making sure that it was level. I was able to use the white markings of the paint strips to get the canopy at the same height on every post. Then I screwed the canopy to the table leg/post. Oops, since I already decoupaged the PANBONE strip on the edge of the canopy, I had to lift the corner to position the screw, then reposition the strip and re-seal it.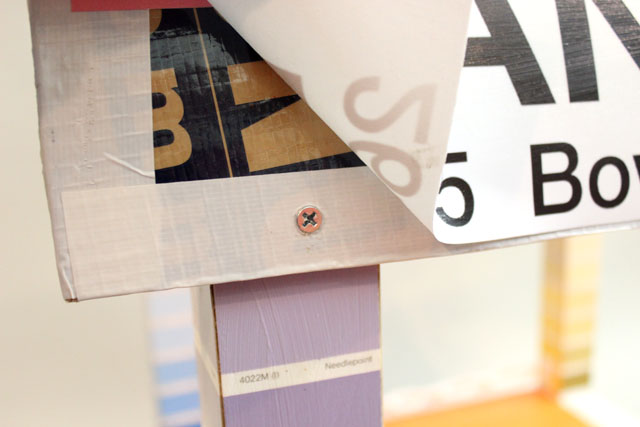
Now that the dog bed is all assembled, it’s pretty sturdy. And comfy for my dogs Fosse and Gershwin. If Gershwin would just let Fosse in.


https://jonathanfongstyle.com/ is so going into my favorites on all media devices! This is beyond genius!!! I love this super cute creation!
Thank you Monica!
Jonathan,
I adore this dog bed!! I found this project featured on HomeTalk and am so glad that I clicked the link to your site. You have amazing style! 😉
I recently purchased my first Pantone color guide/paint chip book through EmmaOneSock.com (discount fashion fabrics). I have no idea what I’m going to do with it since I’m not a designer (just a lover of lush, full color), but knew I couldn’t pass up the deal ($30!!!). I am so envious of your Pantone poster collection!
Again, I’m absolutely thrilled that I found your site today. I will be here often looking for more inspirational style and design!
Thanks Wren! It’s nice to meet someone who’s obsessed with color like me. You got a great deal on the Pantone paint chip book. I used to work in advertising, and we used those books all the time to specify color. If I only knew then they would be so precious now! Anyway, I’m glad you found my site, and I thank you for writing me a note! Have a good day!
So fun and functional! I just pinned it–I hope you win!! 🙂
Thanks Cara! You’re the best.
Excellent, Jonathan! A truly ‘brilliant’ idea!
Thanks John! Remember all those Pantone sheets we used to work with in the day?
You used the Cup Caking Can for the top!!!! Genius! I’m not sure why I’ve been missing out on your blog- but No More! I shall be a Crazy Stalker Fan from now on! All my love!
Security! Security! Let this crazy stalker fan through.
Yep. Crazy brilliant. LOVE LOVE LOVE!!!!!
Thanks Kelly!
WOW Jonathan! I just realized this was the project using all the materials! You blow me away, this is fantastic!
xo
Debs
Thanks Debs!
WOW! I’m SO impressed with your creativity! That dog bed is so clever and fantastically colorful– totally matches your studio which is awesome. And I agree the chains around the cushion totally make it look like a mini boxing ring haha! Great job!
Thanks Rachel, you are so sweet.