I hate to throw away boxes. Cereal boxes, toothpaste boxes, gift boxes, you name it. Not that I’m a hoarder or anything, but the cardboard used in packaging is a valuable crafting resource. It’s thick, durable and can be used in myriad DIY projects. I pay good money in paper stores for cardstock that’s not even half as good.
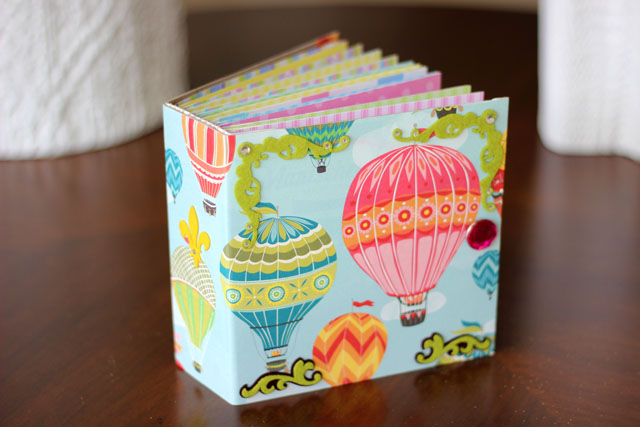
For this project, I’ve turned a matzah box into a mini album or journal. I call them “mini” albums because they’re small enough to fit in a bag, with just enough room to put one picture on each page. They can also be used as scrapbooks, perfect for displaying vacation mementos or even favorite recipes, or for writing journal entries.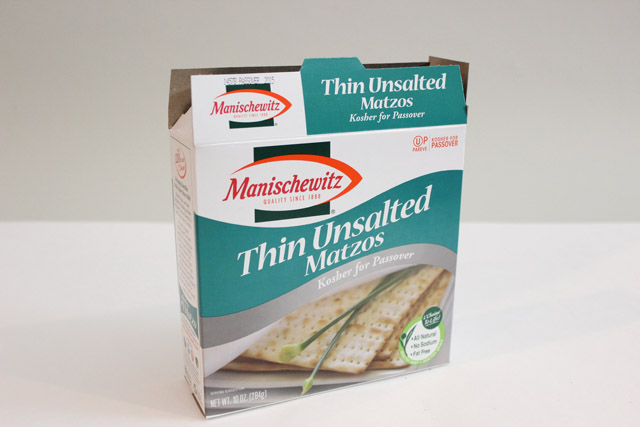
Materials needed:
Matzah box
Wrapping paper
Spray adhesive or glue stick
Hobby knife/straight edge
Scrapbook or plain paper
Rubber bands
Hot glue gun
Decorative brads
1) Cut the box into two main sections. The majority of the box makes up the cover. Leave about 1” on the right side for a binding spine. Discard the top and bottom box flaps.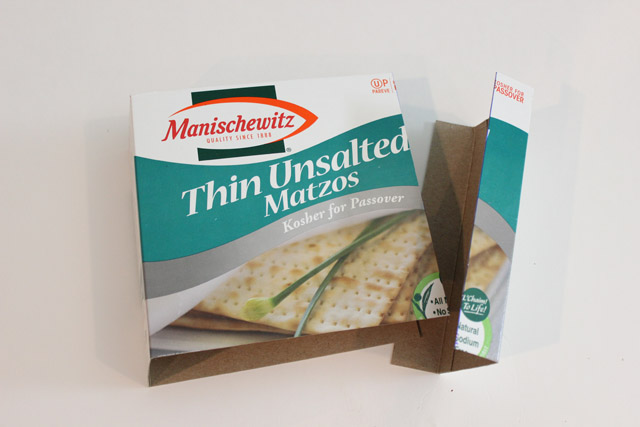
2) Using spray adhesive or a glue stick, cover the printing on the cover piece with wrapping paper. You will probably still see some of the printing showing through, but I like the reminder that it’s a food box. Start with a piece that’s slightly larger than the cover, and then trim on all sides with a hobby knife and straight edge so there are clean, straight edges.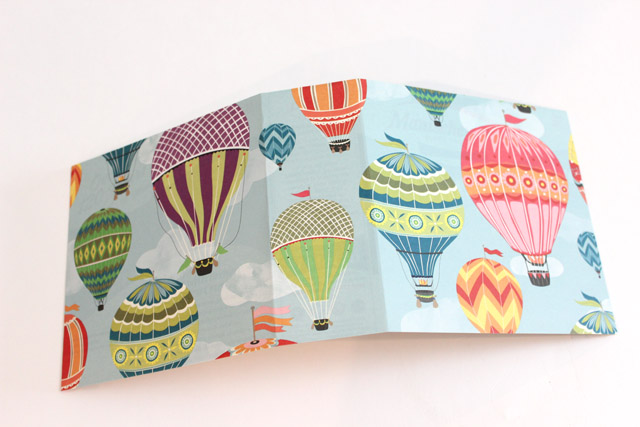
3) To make the interior pages, cut scrapbook paper (or any paper) to twice the size of the cover, so that when folded in half, it fits inside the album. You will need about 12 pieces of paper folded in half, which will create a 48-page album.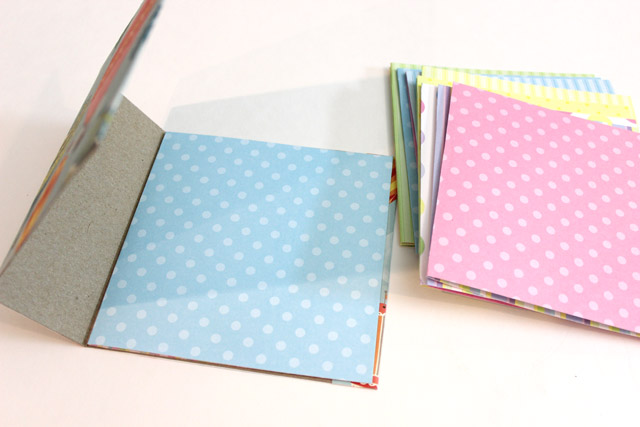
4) Attach the folded pieces of paper to the binding spine (that’s the short end of the box you cut) with rubber bands. The rubber bands will sit in the folds of the paper and wrap around the outside of the binding spine. 5) When the pages are spaced evenly, apply hot glue all over the spine on top of the rubber bands. Be careful when working with hot glue.
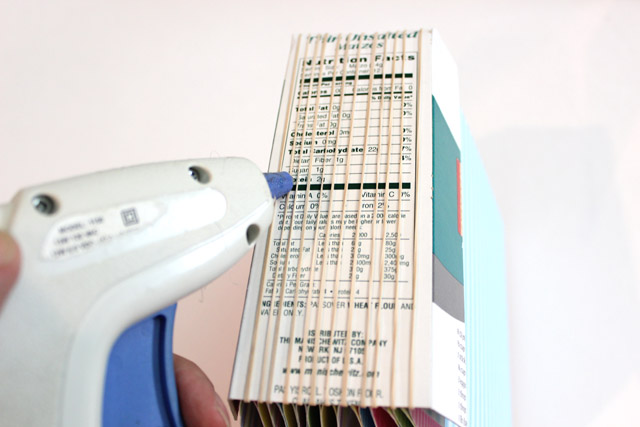 6) Press the binding spine to the spine of the cover, holding it steady until the glue dries. Now the rubber bands are hidden by the cover.
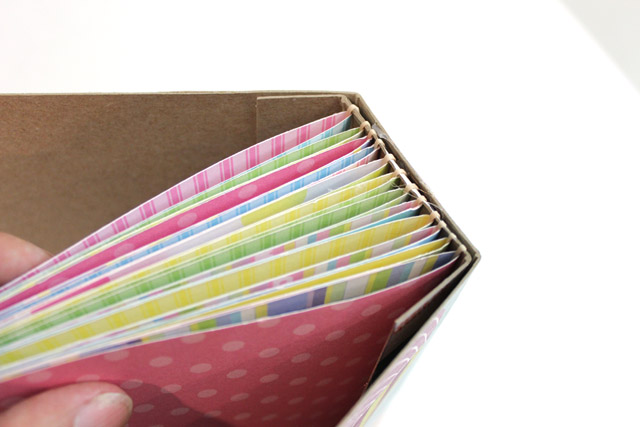 7) Hot glue the flaps of the binding spine to the inside front and back covers, and the binding is completely sealed.
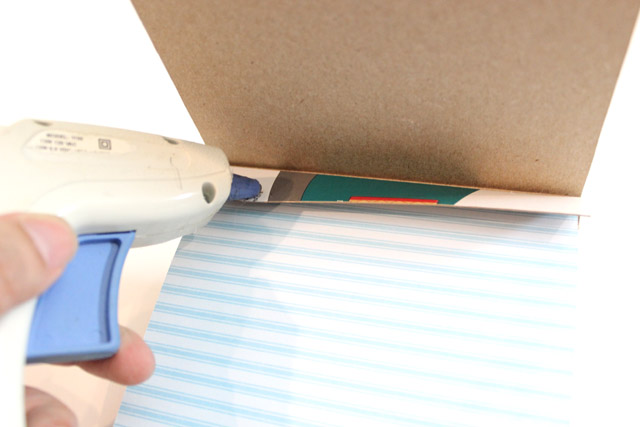
8) Punch holes on the front and back cover to accommodate two decorative brads. Hook a rubber band between the brads for an album closure.

Add a Comment